How to Clean Ceramic Shower Tile
Over time, soap scum, hard water marks, and even mold can grow on ceramic bathroom tiles. This can damage the tiles and negatively impact your health. And this is why knowing how to clean ceramic shower tile is so important.
By cleaning them often, you can avoid these problems and keep your shower space clean and inviting.
Luckily for you, we're here. From our years of experience in tile cleaning, we're here to bring you the comprehensive guide you need. With our help, your shower tiles will look shiny and new in no time.
What this article covers:
- Necessary Cleaning Tools and Products
- Step-By-Step Guide: Cleaning Ceramic Shower Tiles
- Grout Cleaning Tips
- Removing Stubborn Stains
- Preventive Measures
- Sealing Ceramic Shower Tiles
Necessary Cleaning Tools and Products
From our practical experience, to successfully clean ceramic tile, you'll need the following tools:
- Soft-bristled brush: Use this to gently scrub the surface of the tile without scratching or damaging it. It works great for getting rid of dirt, grime, and soap scum from the floor and grout.
- Microfiber cloth: After cleaning the tiles, a microfiber cloth is the best way to dry and polish them.
- Squeegee: After cleaning your tiles, you'll need a squeegee to get rid of the extra water.
For specialized cleaning tools, we recommend the Westpak Tile Blaster Wand and the Turbo Force Hybrid Tile & Grout Cleaning Tool.
Step-by-Step Guide: Cleaning Ceramic Shower Tiles
Dry Cleaning
Sweep or Vacuum Tiles
Before you clean your ceramic bathroom tiles with water, you should make sure to get rid of any loose dirt or waste. To do this, you can use a broom or a vacuum with a soft brush attachment.
Focus on Corners & Grout Lines
Pay extra attention to the corners and grout lines, as this is where dirt and grime tend to build up the most. Before moving on to the wet cleaning step, make sure that you've removed all excess dust or dirt.
Wet Cleaning
Mix Cleaning Solution
Choose the right tile cleaner for your tiles based on what kind of dirt or spots are on them. Follow the directions on the package to make the right fluid in a bucket or spray bottle.
Alternatively, you can create a solution by mixing one part baking soda with one part hydrogen peroxide. Another useful home remedy is mixing baking soda with lemon juice. Any kind of baking soda paste or solution will do the trick.
If you have natural stone tiles, however, you should avoid any abrasive cleaning solutions.

Apply the Solution to the Tiles
Use a spray bottle to spray the cleaning solution straight onto your tiles. Or, use a sponge or cloth to spread it out evenly.
Give the solution a few minutes to break down the dirt and grime.
Scrub Tiles Gently
Scrub the tile surfaces and grout lines with a soft-bristled brush. Make sure to apply even pressure.
Rinse & Dry
Rinse the tiles well with clean water to get rid of the cleaning solution and any loose dirt. Use a squeegee to get rid of any extra water on the tiles so that water spots and streaks don't form.
Drying & Polishing
Wipe Tiles
After rinsing the tiles, dry them with a clean microfiber cloth. The microfiber cloth will soak up any leftover water and help keep watermarks or lines from showing up.
Buff Tiles
After the tiles are dry, use a dry microfiber cloth in circular motions to buff them. This step will make your ceramic shower tiles shine again, making them look clean and well-polished.
Grout Cleaning Tips
Why Grout Maintenance is Crucial
To keep your ceramic tiles looking good, you need to keep up with the tile grout. It's easy for dirt, grime, and mold to build up in shower grout lines, which can make them look dirty and even cause structural damage over time. So it’s important to make sure you both clean ceramic tile and grout.
How to Clean Grout Effectively
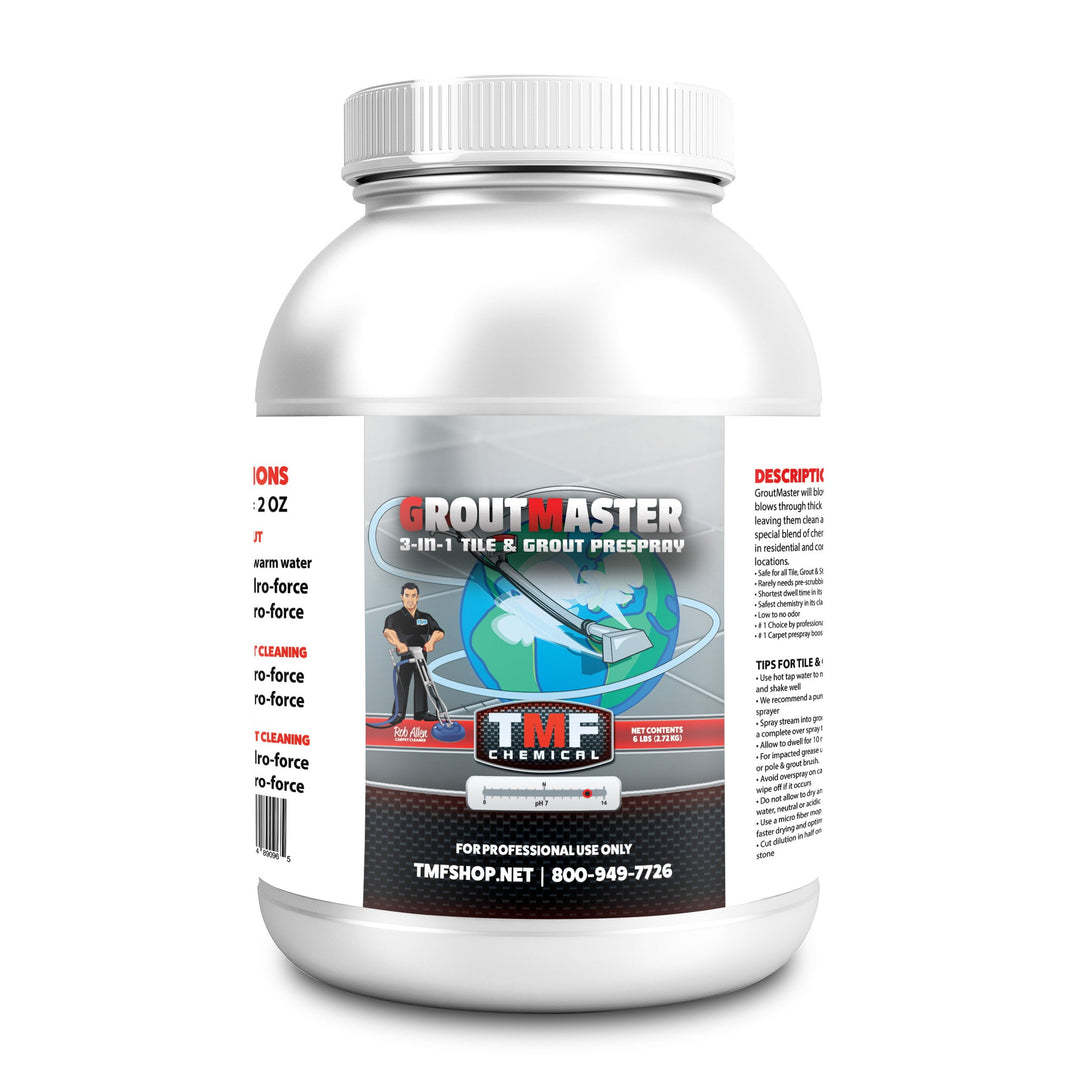
- Use a grout cleaner: Choose a grout cleaner that is right for your grout lines. Apply the cleaner straight to the grout and let it sit for as long as the instructions say to.
- Scrub grout lines with a soft-bristle brush: After letting the cleaner sit for the time given, scrub the grout lines gently with a soft-bristle brush or a grout brush.
- Rinse with clean water: When you're done scrubbing, rinse the grout lines well with clean water to get rid of the cleaning solution and any dirt that has come loose. Make sure to get rid of all the leftovers so they don't draw more dirt.
- Dry: Dry the grout lines by wiping them with a clean, dry microfiber cloth to get rid of any extra water. Mold and mildew won't be able to grow if you do this.
- Seal the grout lines (optional): If you want to protect your grout lines from future stains and damage, you can use a grout and tile sealer. Follow the product's instructions for the correct application.

Removing Stubborn Stains
Types of Stubborn Stains
Ceramic tile floors and shower walls can sometimes get stains that are hard to get rid of and need extra elbow grease. In this case, you might need to deep clean your ceramic tiles. Some common types of stains are:
- Hard water stains: These are mineral deposits left behind by water, which can leave a cloudy or white residue on the tile surface.
- Rust stains: Metal fixtures or items in the shower can cause rust stains, which leave reddish-brown lines on the tiles.
- Mold and mildew stains: If the shower stays wet for a long time, mold and mildew can grow, leaving dark or greenish-black streaks on the tiles and grout.
- Soap scum: Soap residue can build up on the surface of tiles over time, making a sticky, cloudy film.
Tackling Tough Stains
- Pre-treat the stain: Apply the appropriate stain remover directly onto the stain, following the product instructions for the recommended dwell time.
- Scrub the stain gently: Scrub the damaged area with a soft-bristled brush or a non-abrasive cleaning pad. Be careful not to press too hard, as this can damage the surface of the tile.
- Rinse and assess: Rinse the area with clean water and check to see how the stain is doing. If it's still there, repeat the steps of pre-treating and cleaning.
- Dry and polish: Once the stain is gone, use a clean cotton cloth to dry the tile's surface. Then, buff the area to bring back its shine.
If this method doesn’t work, you can also try steam cleaning your ceramic tiles.
Preventive Measures
Daily Maintenance Tips
Follow these tips for daily care to keep your tiles looking their best so you can avoid having to remove black marks from your ceramic tiles:
- Rinse the tiles after every shower. Use clean water to get rid of soap and shampoo residue, which can help soap scum buildup.
- After cleaning the tiles, use a squeegee to get rid of any extra water. This keeps the glass from getting water spots, lines, and mineral layers.
- After each shower, dry the tiles with a microfiber cloth to stop mold and mildew from growing.
How to Minimize Soap Scum & Hard Water Buildup
To keep your porcelain shower floors from getting too dirty with soap scum and hard water, try the following:
- Use liquid soap or body wash. Bar soaps tend to make more soap scum than liquid soap or body wash. If you switch to liquid goods, there will be less soap scum on your tiles.
- Install a water softener. A water softener can help reduce the minerals in your water, which will reduce the amount of hard water buildup on your tiles.
- Clean your tiles often. If you clean your tiles often with the correct cleaning tools, then soap scum and hard water spots won't form.
Ventilation & Mold Prevention
Mold and mildew can't grow in your shower area if there is enough airflow. Here are some ways to improve airflow and keep mold from growing:
- During and after your shower, turn on an exhaust fan to get rid of extra wetness in the air. After you get out of the shower, let the fan run for about 20 to 30 minutes.
- If you can, open a window or door before, during, and after your shower to let more air in and lower the humidity.
- Clean your tiles often and dry them with a microfiber cloth after each use to keep mold from growing.
Sealing Ceramic Shower Tiles
Importance of Sealing Tiles
Based on what we know, it's important to seal ceramic shower tiles for several reasons:
- Protection: When you seal your tiles, you make a shield that keeps stains, dirt, and grime from getting into the tile surface and grout lines. This makes it easy to clean and maintain over time.
- Water resistance: Sealing your tiles makes them less likely to be damaged by water and for germs to grow.
- Longevity: Sealed tiles are less likely to wear and tear, so your ceramic shower tiles will look good and work well for a longer time.
How To Seal Ceramic Shower Tiles
Follow these steps to protect your ceramic shower tiles well:
- Before you seal them, clean your tiles well. Make sure the tiles and the spaces between them are dry before moving on.
- Depending on your needs and tastes, choose the right finish for your tiles and grout lines.
- Use a brush, roller, or spray to spread the sealer over the tile surfaces and grout lines. Make sure you spread the sealer evenly and that it doesn't pool in any spots.
- Follow the directions on the product and let the sealer dry for the appropriate amount of time. Drying times can be different based on the type of sealer and the weather.
- After the sealer has dried, buff the tiles with a clean, dry microfiber cloth to bring back their shine and get rid of any extra sealer.

Conclusion
Keeping ceramic shower tiles clean and well-maintained is important for keeping their look, usefulness, and durability. By using the tips and advice in this piece, you can avoid several problems that could gunk up or damage your tiles.
And in the event that you have a buildup of grime, mold, or damage, the steps in this guide are sure to get your tiles back on track and leave you with clean shower tile.
With our help, your tiles will look good for years to come. Whatever you need, from carpet cleaning products to grout cleaners, we have you covered.
Did you find our blog helpful? Then consider checking other guides:
- How to Clean Textured Ceramic Tile Floors
- How to Clean Old Wood Furniture
- How to Clean Antique Wooden Furniture
- How to Clean Outdoor Wood Furniture Like a Pro
- Best Products to Clean Wood Furniture
- How to Clean White Wood Furniture in a Flash
- How to Remove Haze from Engineered Hardwood Floors
- How to Clean Grease off Hardwood Floors
- How to Get Rid of Slick Spot-on Hardwood Floor
- How to Remove Water Stain from Wood Floor
- How to Remove Hair Dye from Wooden Floor
- How to Get Oil Out of Wood Floor
- How to Clean Braided Rug
- How to Clean Oriental Rugs
- How to Clean Woven Rug


