The Ultimate Guide: LVP Clean and Recoat for Sheen Finish
Luxury Vinyl Plank (LVP) flooring has become increasingly popular due to its durability, aesthetics, and ease of maintenance. This comprehensive guide will walk you through cleaning and recoating LVP floors, ensuring a perfect sheen finish that protects and enhances the flooring.
Pre-cleaning Assessment
Performing a Micro Test
Before beginning the cleaning process, it's crucial to assess the current state of the floor:
- Use a scraper tool to check for any topical wax or finish.
- Conduct a stripper test using a 1:4 dilution ratio in a sanitizer bottle.
- Wait 1-5 minutes to see if the solution turns milky, indicating the presence of a topical finish.
Cleaning Process
Step 1: Thorough Sweeping and Vacuuming
- Start by sweeping the entire floor to remove loose debris.
- Follow up with a vacuum cleaner on the floor setting to ensure all fine particles are removed.
Step 2: Applying Multi-Purpose Cleaner
- Use a multi-purpose cleaner diluted according to soil level (1 oz per gallon for light soil, 3-4 oz for heavy soil).
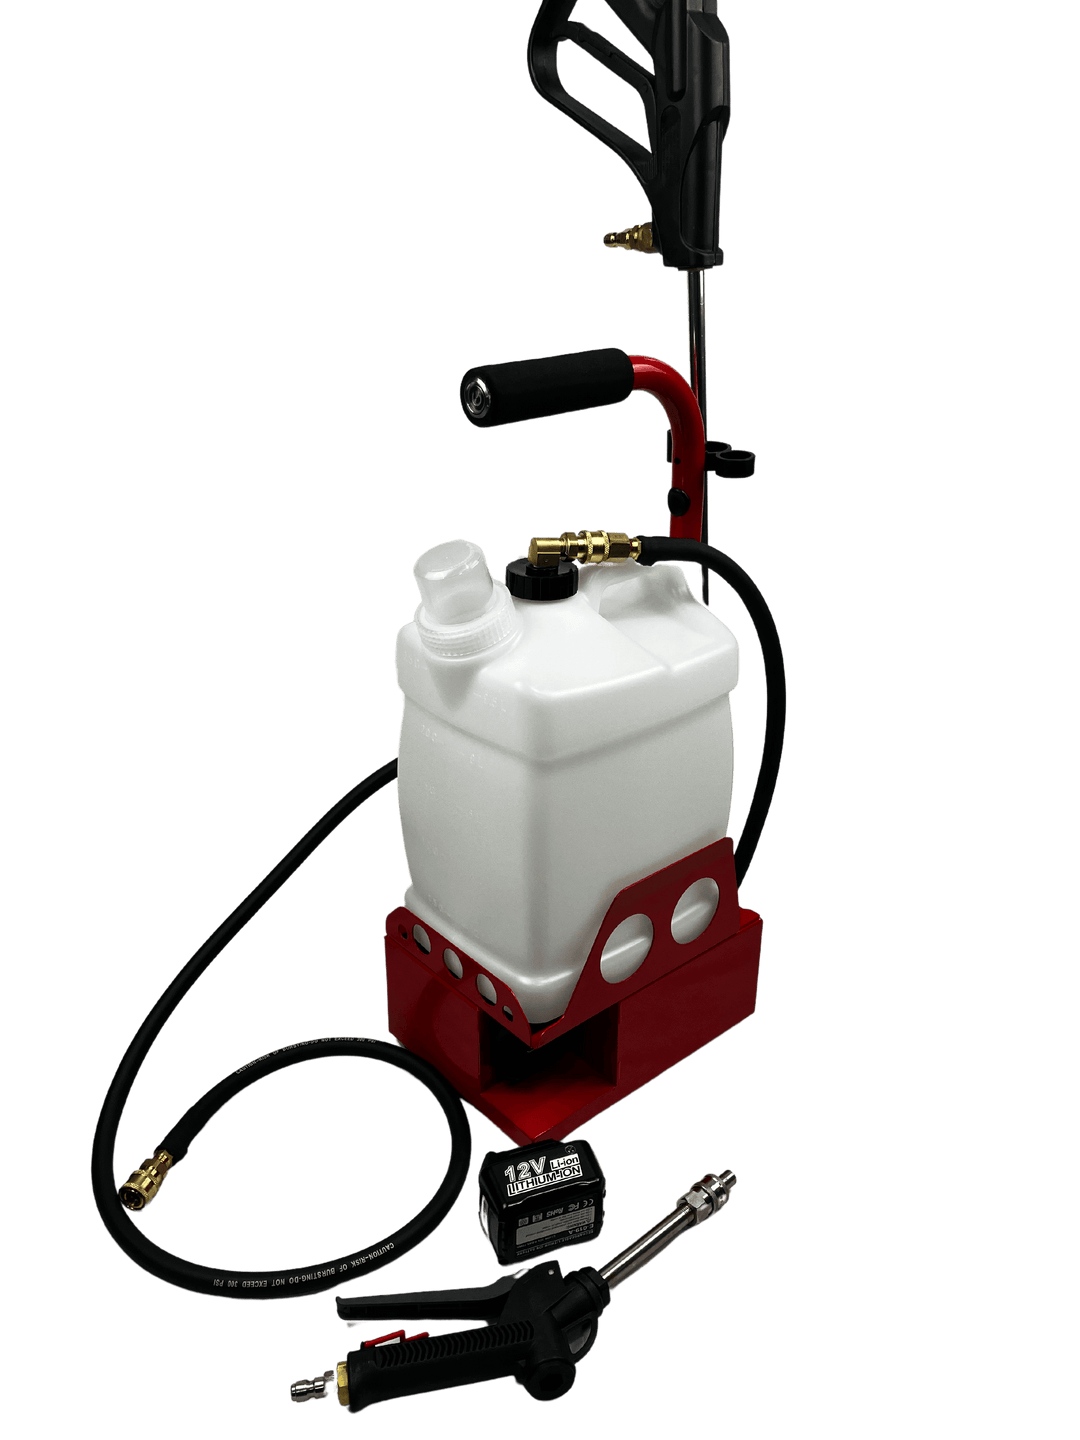
- Apply the cleaner generously using a battery-operated sprayer.
- Pay attention to grooves and ridges where dirt tends to accumulate.
Step 3: Machine Scrubbing
- Utilize commercial floor cleaning machines like the TMF Revolver for efficient cleaning.
- This machine is effective on various hard surfaces and has a built-in vacuum.
- Operate the machine at 800-1000 PSI for effective cleaning without damaging the LVP.
Step 4: Spinner Tool for Deep Cleaning
- Use a spinner tool at 800 PSI to get into grooves and extract dirt effectively.
- This step ensures a thorough cleaning and faster drying time.
Step 5: Microfiber Mopping
- Go over the floor with a microfiber mop to remove any remaining moisture and debris.
- Pay special attention to edges and baseboards to prevent seepage.
Step 6: Drying Time
- Allow the floor to dry completely, using best commercial dehumidifiers to expedite the process.
- Let the floor dry for about an hour before proceeding to the recoating phase.
Understanding LVP Floor Finishes
Types of Finishes
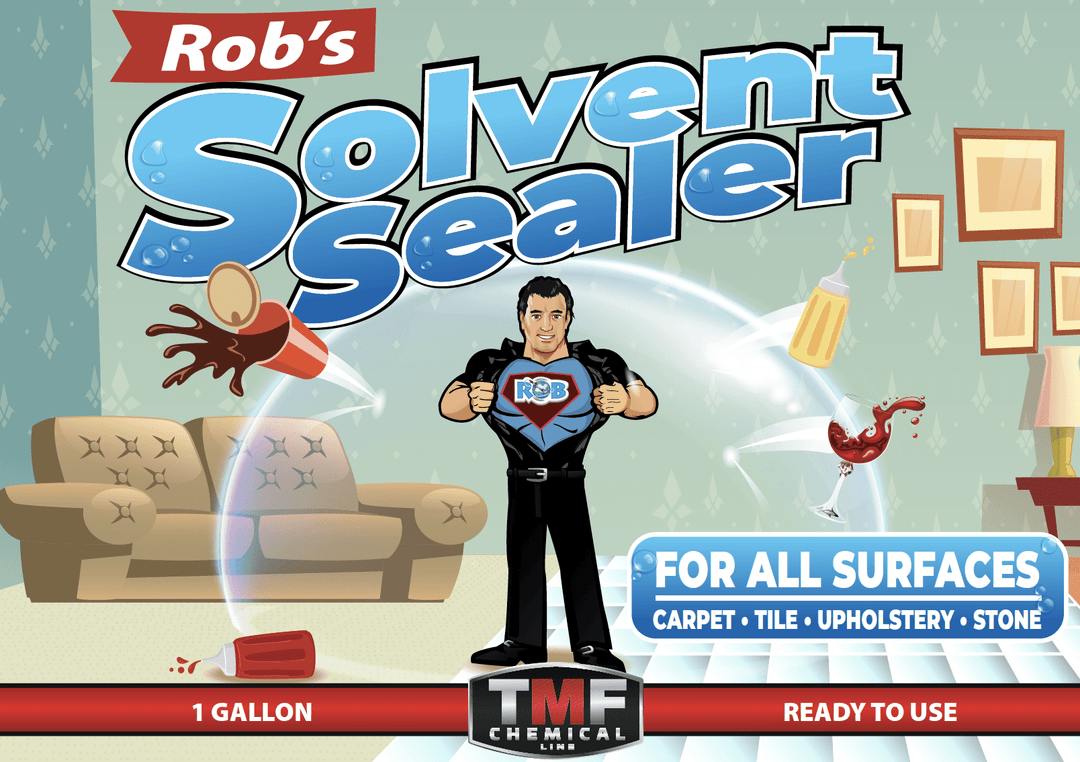
- One-part finish: Known as "Perfect Sheen," ideal for most applications.
- Two-part finish: Offers better protection with 100% urethane but may be excessive for most needs.
Finish Preferences
- Most clients prefer a matte or satin finish over glossy.
- Glossy finishes can highlight scratches and imperfections, especially in commercial settings with high foot traffic.
Recoating Process
Preparing the Coating
- Use a one-part finish for a perfect sheen.
- Create small holes in the product container for controlled pouring.
Applying the Coating
- Work in sections of 50-100 square feet at a time.
- Apply the coating with a flat mop, moving with the grain of the LVP.
- Use a figure-eight motion to ensure even coverage.
- Pay extra attention to edges and uneven spots.
- If desired, allow the first coat to dry completely before applying a second coat.
Best Practices and Tips
- Avoid applying too many coats, which could lead to an overly glossy finish.
- Two coats typically provide the ideal balance of protection and aesthetics.
- Remember that the finish will dry down to a more matte appearance, which customers often prefer.
Frequently Asked Questions
How often should LVP floors be recoated?
The frequency depends on foot traffic and wear, but generally, commercial spaces should be relocated annually or as needed for high-traffic areas.
Can I apply the coating with a regular mop instead of a flat mop?
It's strongly recommended to use a flat mop for even application. Regular mops may leave streaks or uneven coating.
Is it necessary to strip the old finish before recoating?
If the micro test reveals an existing topical finish, stripping is necessary. Otherwise, a thorough cleaning is sufficient before recoating.


