How to Deep Clean Porcelain Tiles After Installation
Key Takeaways:
-
Wait a minimum of 24 hours before any wet cleaning; the ideal window for acid-based grout haze removal is 4-10 days from grouting
-
Cement-based and epoxy grout haze require completely different chemistry - identifying your grout type before cleaning prevents damage and wasted product
-
Glazed porcelain tolerates mild acidic cleaners; unglazed and matte surfaces need pH-neutral solutions to avoid dulling the finish
-
Always dry-prep first - skipping the sweep turns debris into an abrasive slurry during wet cleaning that scratches glazed surfaces
-
Sealing grout lines after deep cleaning is the single most skipped step, and the one that reduces future maintenance the most
Cleaning porcelain tiles right after installation means removing grout haze, cement residue, and construction debris without damaging the tile or compromising fresh grout joints. The process follows 6 steps and depends heavily on grout type. Get the timing or chemistry wrong, and you either damage the grout before it cures or end up with a stubborn haze that requires professional-level correction to fix.
What Happens to Porcelain Tile During Installation (and Why It Needs Deep Cleaning)
Porcelain tiles are non-porous, durable, and highly stain-resistant - but installation still leaves them in rough shape. The grouting process deposits fine cement particles across the entire tile surface. As the grout cures and wash water evaporates, those mineral particles stay behind as a thin, powdery film called grout haze.

Grout haze can be subtle at first, especially when your tile and grout colors are similar. But it becomes obvious once the surface dries under normal light - tiles that looked fine during installation suddenly appear dull, foggy, or streaked. A simple test confirms it: wipe a dry microfiber cloth across the tile. If a fine powdery film transfers or the surface looks cloudy after wiping, you have grout haze.
Grout haze is different from other post-install residues, and identifying the right one before you start cleaning matters:
-
Grout haze: a fine mineral film from dried grout particles smeared during grouting and initial cleanup
-
Thinset and mortar smears: heavier adhesive deposits, usually along tile edges
-
Construction debris: dust, paint overspray, adhesive drips from other trades working on-site after tile is laid
-
Efflorescence: bright white crystalline deposits caused by water drawing soluble salts to the surface - different chemistry required, not covered by standard grout haze cleaners
Why Grout Type Changes Everything
The type of grout used during installation is the most important variable in your entire post-install cleaning plan.
Cement-based grout is by far the most common. It produces a haze that is relatively easy to remove - but only within a specific time window. The professional standard is 4 to 10 days from grouting. Before day 4, the grout may not be fully cured. After day 10, the haze has hardened to the point where standard dilutions of acid-based cleaners often fail and higher concentrations are required.
Epoxy grout is an entirely different challenge. It sets in minutes under warm conditions. Any epoxy haze must be addressed immediately during and after the grouting process. Once it cures, standard acid-based tile cleaners do not dissolve it - a dedicated epoxy haze remover is required.
Urethane grout is the most forgiving. It wipes off cleanly with water and rarely leaves significant haze.
How Long to Wait Before Deep Cleaning Porcelain Tiles After Installation
For general cleaning: wait a minimum of 24 hours. For acid-based grout haze removal on cement grout: begin no earlier than day 4, finish no later than day 10.
Cleaning too early is one of the most common post-install mistakes. Wet cleaning or scrubbing before grout has cured can pull grout out of joints, discolor it, or cause cracking as it continues to set. According to American Olean's official porcelain tile care guidelines, cementitious grouts must be fully cured before cleaning products are applied, and grout lines should be dry before any sealer is used. The same principle extends to wet cleaning methods.
The 24-Hour Rule - What Is and Is Not Safe
In the first 24 hours, dry methods only. A soft-bristle broom, a hard-floor vacuum attachment, or a dry piece of cheesecloth are the right tools for this phase. The dry cheesecloth method works particularly well on matte tiles: rub it firmly over the surface to lift loose haze particles, then sweep or vacuum the loosened residue up. It's low-risk, effective for light residue, and completely safe for fresh grout.
What to avoid in the first 24 hours: wet mopping, any cleaning solution including diluted vinegar, scrubbing pads, or acid-based products. These can all compromise grout cure.
The 4-to-10-Day Window for Acid-Based Cleaning
Once grout has cured at day 4-5, you can introduce wet cleaning and, where needed, acid-based cleaners for heavier cement haze. That window closes around day 10.
One important caveat for summer installs: never clean tiles that are warm from direct sun exposure. Heat accelerates chemical reactions and can make even mild acid cleaners behave more aggressively than their label suggests. Work during the coolest part of the day, and if the tile surface feels warm to the touch, wait.

Step-by-Step: How to Deep Clean Porcelain Tiles After Installation
The professional deep cleaning workflow runs 6 steps. Skipping any of them - especially dry prep and the rinse - is where most post-install cleaning jobs go wrong.
Alt text: 6-step professional process for deep cleaning porcelain tiles after installation
Step 1 - Dry Preparation: Remove Loose Debris First
Before any liquid touches the floor, sweep or vacuum thoroughly with a soft-bristle broom or vacuum on hard-floor mode. This removes loose construction debris, dust, and dry grout particles.
Skipping this step turns those particles into an abrasive slurry when your wet cleaner hits them - a slurry that scratches glazed tile surfaces and pushes residue deeper into textured grout lines. Dry prep takes five minutes and prevents significantly larger problems downstream.
Step 2 - Identify Your Tile Finish and Grout Type
Before applying any cleaner, confirm two things: tile finish (glazed, unglazed, matte, or textured/non-slip) and grout type (cement-based, epoxy, or urethane). Check the grout product packaging or ask the installer directly.
Always spot-test any cleaner in an inconspicuous area first - a corner, behind a door, or under an appliance. This step is non-negotiable on honed or polished finishes, which can show sheen changes from even mild acid contact.
Step 3 - Apply the Right Cleaner for Your Grout Type
For cement-based grout haze on glazed porcelain:
A solution of 4 parts water to 1 part white vinegar applied with a clean cloth handles light to moderate haze on smooth glazed tiles. For more stubborn deposits, a professional acid-based cleaner like Kick Acid gives faster and more controlled results. Always pre-wet the tile surface with plain water before applying any acid-based product - it slows the chemical reaction and extends your working time.
For cement-based grout haze on unglazed porcelain:
Unglazed porcelain has a more open surface that traps grout particles more aggressively. Baking soda applied dry and scrubbed with a damp cloth works well for light haze - it is mild, effective, and safe for the surface. For heavier deposits, use a pH-neutral professional cleaner. Acid-based products can dull unglazed surfaces if misapplied.
For epoxy grout haze:
Use a dedicated epoxy haze remover. Standard acid cleaners do not dissolve cured epoxy. If you are unsure which type of haze you are dealing with, start with the gentlest method (clean water and a microfiber cloth) and escalate only when needed.
What to never use: ammonia, chlorine bleach, or highly concentrated acids. These strip grout color, attack the surface finish on unglazed tiles, and can permanently dull polished porcelain. If you need added cleaning power beyond your standard tile cleaner, oxygen-based bleach is a safer alternative.
Step 4 - Agitate with the Right Tool
The right agitation tool depends entirely on tile finish:
-
Smooth glazed tile: soft nylon scrub pad or microfiber mop - sufficient for most haze on residential floors
-
Unglazed and matte tile: soft-bristle brush; avoid anything abrasive that leaves swirl marks visible under angled light
-
Textured and non-slip tile: motorized brush machine with a white or beige pad - manual scrubbing rarely reaches into the surface grooves
-
Large commercial floors: a professional tile spinner like the Turbo Force Hybrid Tile & Grout Cleaning Tool, which covers 400-1,000 sq ft per hour connected to a portable or truckmount machine

For medium-sized commercial applications, the Westpak Tile Blaster - with 4 jets, a squeegee head, and a brush head - provides a versatile setup that handles multiple tile types in a single pass.
Step 5 - Rinse Thoroughly and Remove All Chemical Residue
Multiple rinse passes are not optional. Any cleaner left to dry on the tile surface deposits its own residue and creates a new haze problem. This is the step most commonly skipped in DIY post-install cleaning, and the most common cause of tiles that look perpetually dull after installation.
Change your rinse water frequently - dirty rinse water re-deposits exactly what you just removed. Use a wet vacuum or squeegee immediately after each rinse pass to pull contaminated water off the surface before it dries. On commercial floors especially, letting rinse water sit while you move to the next section is a guaranteed way to re-soil tiles you already cleaned.
Step 6 - Dry and Inspect
Buff the tile surface with a clean microfiber towel immediately after the final rinse. This reveals the tile's true finish and removes the last layer of surface moisture that could leave water marks.
Inspect under angled light - a work light held low and parallel to the floor reveals remaining haze that is completely invisible under flat overhead lighting. Repeat targeted passes on any sections still showing residue rather than redoing the entire floor.
Cleaning Glazed vs. Unglazed vs. Textured Porcelain - Key Differences
Tile finish type determines acceptable chemistry, agitation method, and drying sensitivity. In practice, unglazed and textured tiles are cleaned incorrectly far more often than glazed ones - usually because the installer applies the same method across all three.
Compared across cleaner type, agitation tool, acid tolerance, and sealing need, the three main porcelain finish categories break down as follows:
This table compares the three main porcelain finish types against the criteria that matter most in post-install cleaning. Use it before selecting a cleaner or tool.
|
Criteria |
Glazed Porcelain |
Unglazed / Matte |
Textured / Non-Slip |
|
Cleaner type |
Mild acid (vinegar, diluted acid-based) |
pH-neutral; baking soda for light haze |
pH-neutral; professional cleaner for grooves |
|
Agitation tool |
Soft nylon pad, microfiber mop |
Soft-bristle brush |
Motorized brush, white/beige pad |
|
Haze visibility |
High - gloss surface shows haze clearly |
Medium - trapped in open surface |
High - grooves trap debris aggressively |
|
Acid tolerance |
Yes (mild) - spot test required |
Limited - avoid on polished matte |
Limited - check manufacturer spec |
|
Sealing needed |
Grout lines only |
Yes - full penetrating impregnator |
Yes - grout lines critical |
|
Drying sensitivity |
Low |
Medium |
High - moisture trapped in texture |
Matching your approach to the tile type prevents the most common post-install damage scenarios.
Glazed Porcelain - Most Forgiving, Shows Haze Most Clearly
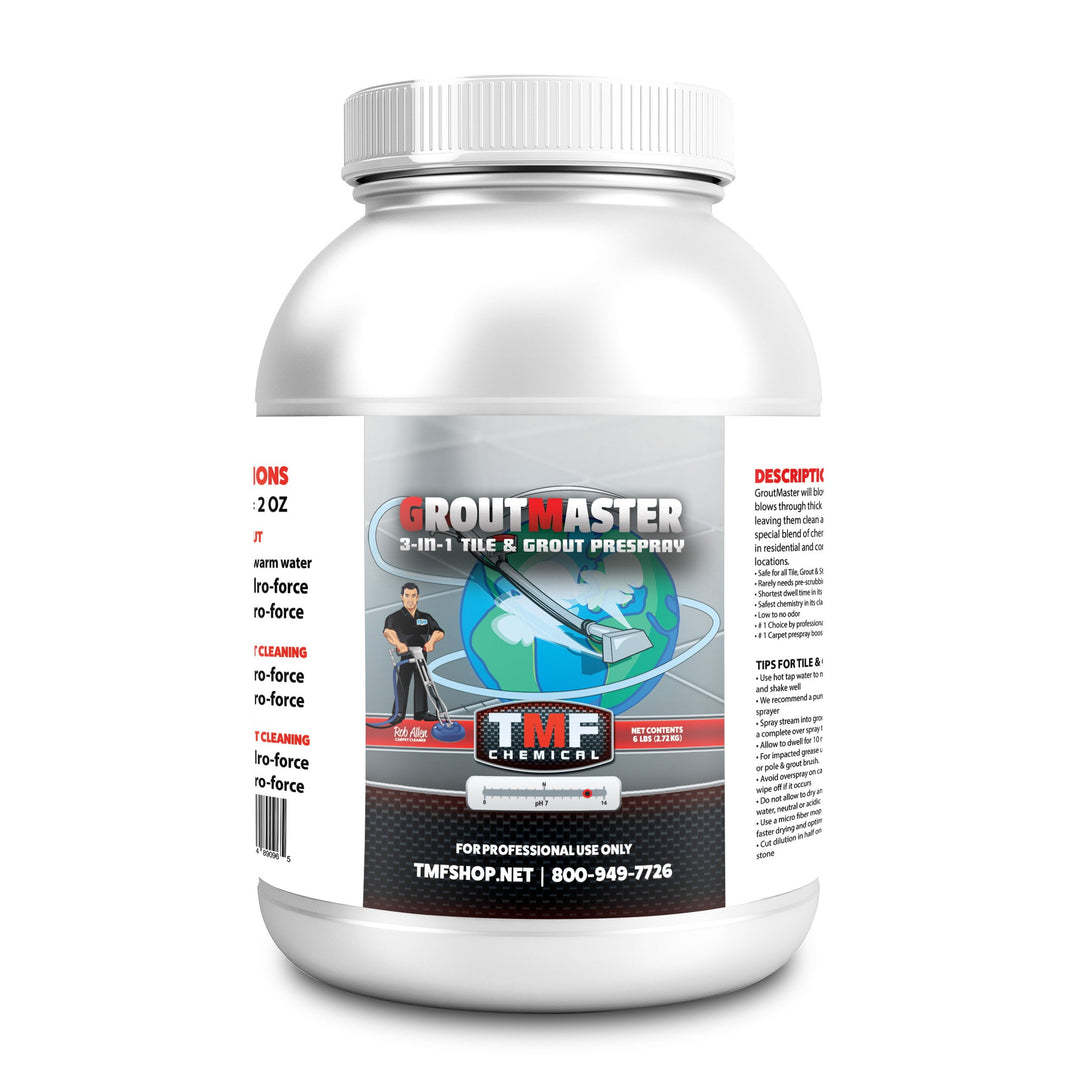
Glazed porcelain is the most common residential tile and the most forgiving to clean post-installation. Its sealed glaze surface resists staining and tolerates mild acidic cleaners, making grout haze removal straightforward. The dry cheesecloth method handles light haze, a diluted vinegar solution handles moderate deposits, and a professional cleaner like Groutmaster handles everything else. Groutmaster is a 3-in-1 tile and grout cleaner suitable for all tiled surfaces - it removes installation grout haze, tackles older soiled grout, and is safe around cabinetry, walls, and appliances.
Unglazed and Matte Porcelain - Most Mishandled After Install
Unglazed porcelain has an open, micro-porous surface that traps grout particles more aggressively than glazed tile. It requires pH-neutral cleaners to preserve the finish, and baking soda scrubbed with a damp cloth is a reliable first approach for light haze. The critical mistake on this tile type is applying the same acid-based method used on glazed tile. Acid cleaners on unglazed or matte porcelain can dull the surface permanently - a result that is visible and not reversible without professional restoration.

Textured and Non-Slip Porcelain - Motorized Tools Are Non-Negotiable
The rougher and deeper the surface texture, the faster grout residue bonds to it. Manual scrubbing with a soft pad reaches the texture peaks but does almost nothing in the valleys. A motorized brush machine fitted with a white or beige pad is the professional standard for textured tile, and for good reason: it delivers consistent agitation at the right depth across the entire surface. Clean textured tile sooner rather than later after installation - the window between manageable and problematic is shorter than with smooth tile.
Professional Products That Make Post-Install Tile Cleaning Faster
For professional-grade chemistry and equipment, browse the full tile and grout cleaning collection at the TMF Store. The range covers every post-install scenario from light residential haze to heavy commercial floor restoration.
Acid-Based Cleaners for Cement Grout Haze
Kick Acid is purpose-built for grout haze, soap scum, and mineral deposits on tile surfaces. It cuts through cement-based haze on glazed porcelain with better consistency than DIY vinegar solutions. Always pre-wet the tile, follow the product dilution ratio on the label, observe the recommended dwell time, and rinse with multiple passes.

Groutmaster handles post-install haze as well as ongoing tile and grout maintenance in a single product. For professionals working at scale, it is available by the pail and drum - keeping per-job chemical cost manageable on large commercial accounts.
For the full range of professional-grade cleaning chemistry for stone, tile, and grout, explore the stone, tile and grout chemical collection.
Professional Equipment Worth Using
For large commercial tile floors, hand-cleaning methods are simply not practical. The Turbo Force Hybrid Tile & Grout Cleaning Tool is a rotating pressure-fed spinner that covers 400-1,000 sq ft per hour. It delivers cleaning solution under a contained spinning head and simultaneously extracts dirty water - connected to any portable or truckmount machine.
For medium-sized commercial applications, the Westpak Tile Blaster provides a versatile combination of 4 jets, squeegee head, and brush head in one setup - suitable for post-install cleaning across multiple tile types in a single pass.
Should You Seal After Deep Cleaning?
For cement-based grout: yes, and sooner rather than later. According to American Olean's official tile care documentation, a penetrating impregnating sealer applied after the initial deep clean protects grout against stains, moisture absorption, and color fade. Choose a sealer without silicone - penetrating sealers that do not form a surface film outperform surface sealers on durability and re-coat ease.
Glazed tile faces do not require sealer - the glaze performs that function. The grout lines between glazed tiles still benefit significantly from sealing.
Epoxy grout does not require sealing. Its dense, non-porous composition already resists staining and moisture absorption.
Keeping Porcelain Tiles Clean After the Post-Install Deep Clean
Once the post-installation deep clean is complete, protecting that result comes down to a consistent routine. For more detail on long-term grout care, see our full guide on how to clean porcelain tile grout.
Weekly Maintenance Routine
Sweep or vacuum with a hard-floor attachment to remove loose debris before any wet cleaning. Mop with a pH-neutral cleaner and a microfiber flat mop, wringing out excess water before each pass to avoid puddling on grout lines. Dry the floor after mopping - standing water is the primary driver of grout darkening and efflorescence over time.
Common Mistakes That Undo a Good Deep Clean
-
Using ammonia or bleach-based cleaners on grout: both strip grout color and break down grout structure with repeated use
-
Leaving standing water on grout lines: accelerates staining, promotes mold in porous grout, and causes efflorescence
-
Skipping the rinse step: residual cleaner attracts soil faster and builds up a filmy layer that makes tiles look perpetually dull
-
Using a string mop: string mops distribute dirty water across the floor; microfiber flat mops pick it up
Frequently Asked Questions
How long should you wait before cleaning porcelain tiles after installation? Wait a minimum of 24 hours before any wet cleaning. For acid-based grout haze removal, the ideal window is 4-5 days after grouting, and the process must be completed before day 10. Cleaning too early pulls uncured grout from joints and causes discoloration that cannot be reversed without regrouting.
How do you remove grout haze from porcelain tiles? Start with a dry cheesecloth to lift loose haze particles. For light to moderate cement-based haze on glazed tile, a 4:1 water-to-vinegar solution or a professional acid-based cleaner works well. Pre-wet the tile, apply the cleaner, agitate with the appropriate tool, rinse multiple times, and dry. Epoxy grout haze requires a dedicated epoxy haze remover - standard acid cleaners do not dissolve it.
Can you use vinegar to clean porcelain tiles after installation? Yes, on glazed porcelain with cement-based grout haze, a diluted vinegar solution (4 parts water to 1 part vinegar) is safe and effective. Do not use vinegar on natural stone tile, polished matte porcelain, or on epoxy grout - it will not be effective and may dull the surface finish.
What is the best professional cleaner for porcelain tile after installation? Groutmaster is the top choice for all tile types - it removes installation grout haze, handles older soiled tile, and is safe around cabinetry and fixtures. Kick Acid is the professional standard for heavier cement haze and mineral deposits on glazed tile surfaces specifically.
How do you clean epoxy grout haze from porcelain tiles? Epoxy grout haze must be addressed immediately during and after the grouting process - it sets within minutes in warm conditions. Use a dedicated epoxy haze remover. Once cured, epoxy haze is extremely difficult to remove without risking tile damage, and standard acid cleaners will not dissolve it.
Should you seal porcelain tiles after installation? The grout lines should be sealed with a penetrating, non-silicone impregnating sealer after the deep clean and before full use. Glazed tile faces do not need sealer. Epoxy grout does not need sealing. Sealing protects grout color, reduces staining, and makes routine cleaning significantly faster.
What happens if you clean porcelain tiles too soon after installation? Wet cleaning before grout has cured - within the first 24 hours - can pull grout out of joints, cause discoloration, or introduce cracks as the grout continues to set. Applying acid-based cleaners before day 4 can cause similar damage by reacting chemically with partially cured grout.
Do you need special equipment to deep clean large porcelain tile floors? For commercial or large residential floors, yes. A tile spinner tool like the Turbo Force connected to a portable or truckmount machine covers 400-1,000 sq ft per hour, delivers cleaning solution under pressure, and extracts dirty water simultaneously - far faster and more consistent than any manual method.
Conclusion
Deep cleaning porcelain tiles after installation comes down to three variables: timing, chemistry, and tools. Get the timing right - 24-hour minimum, 4-10-day window for acid cleaners. Match your chemistry to the grout type and tile finish. Use tools that actually reach residue rather than spread it around. Whether you are cleaning one residential bathroom or a commercial floor, the process is the same - the scale just changes the equipment.
For professional-grade chemicals, tile cleaning tools, and expert-backed advice, browse the full range at the TMF Store.
References
-
American Olean - Porcelain Tile Care & Maintenance Instructions - https://www.americanolean.com/resources/care-and-maintenance/porcelain-tile
-
Panaria Ceramica - Post-Installation Cleaning Guide - https://www.panaria.us/solutions/cleaning-maintenance/how-to-clean-tiles-cleaning-after-installation